Lab 4
Here are some help for lab 4.
Overview
I think it seems like a lot of work but no worries its super quick!
You will need some tapes and Logger Pro to finish the lab.
Part 1: Attraction and repulsion of charged and neutral objects
Part 1 requires you with some equipment:
Tape (It does not have to be Scotch).
Smartphone/Camera (just for taking picture).
Youtube videos (super helpful!).
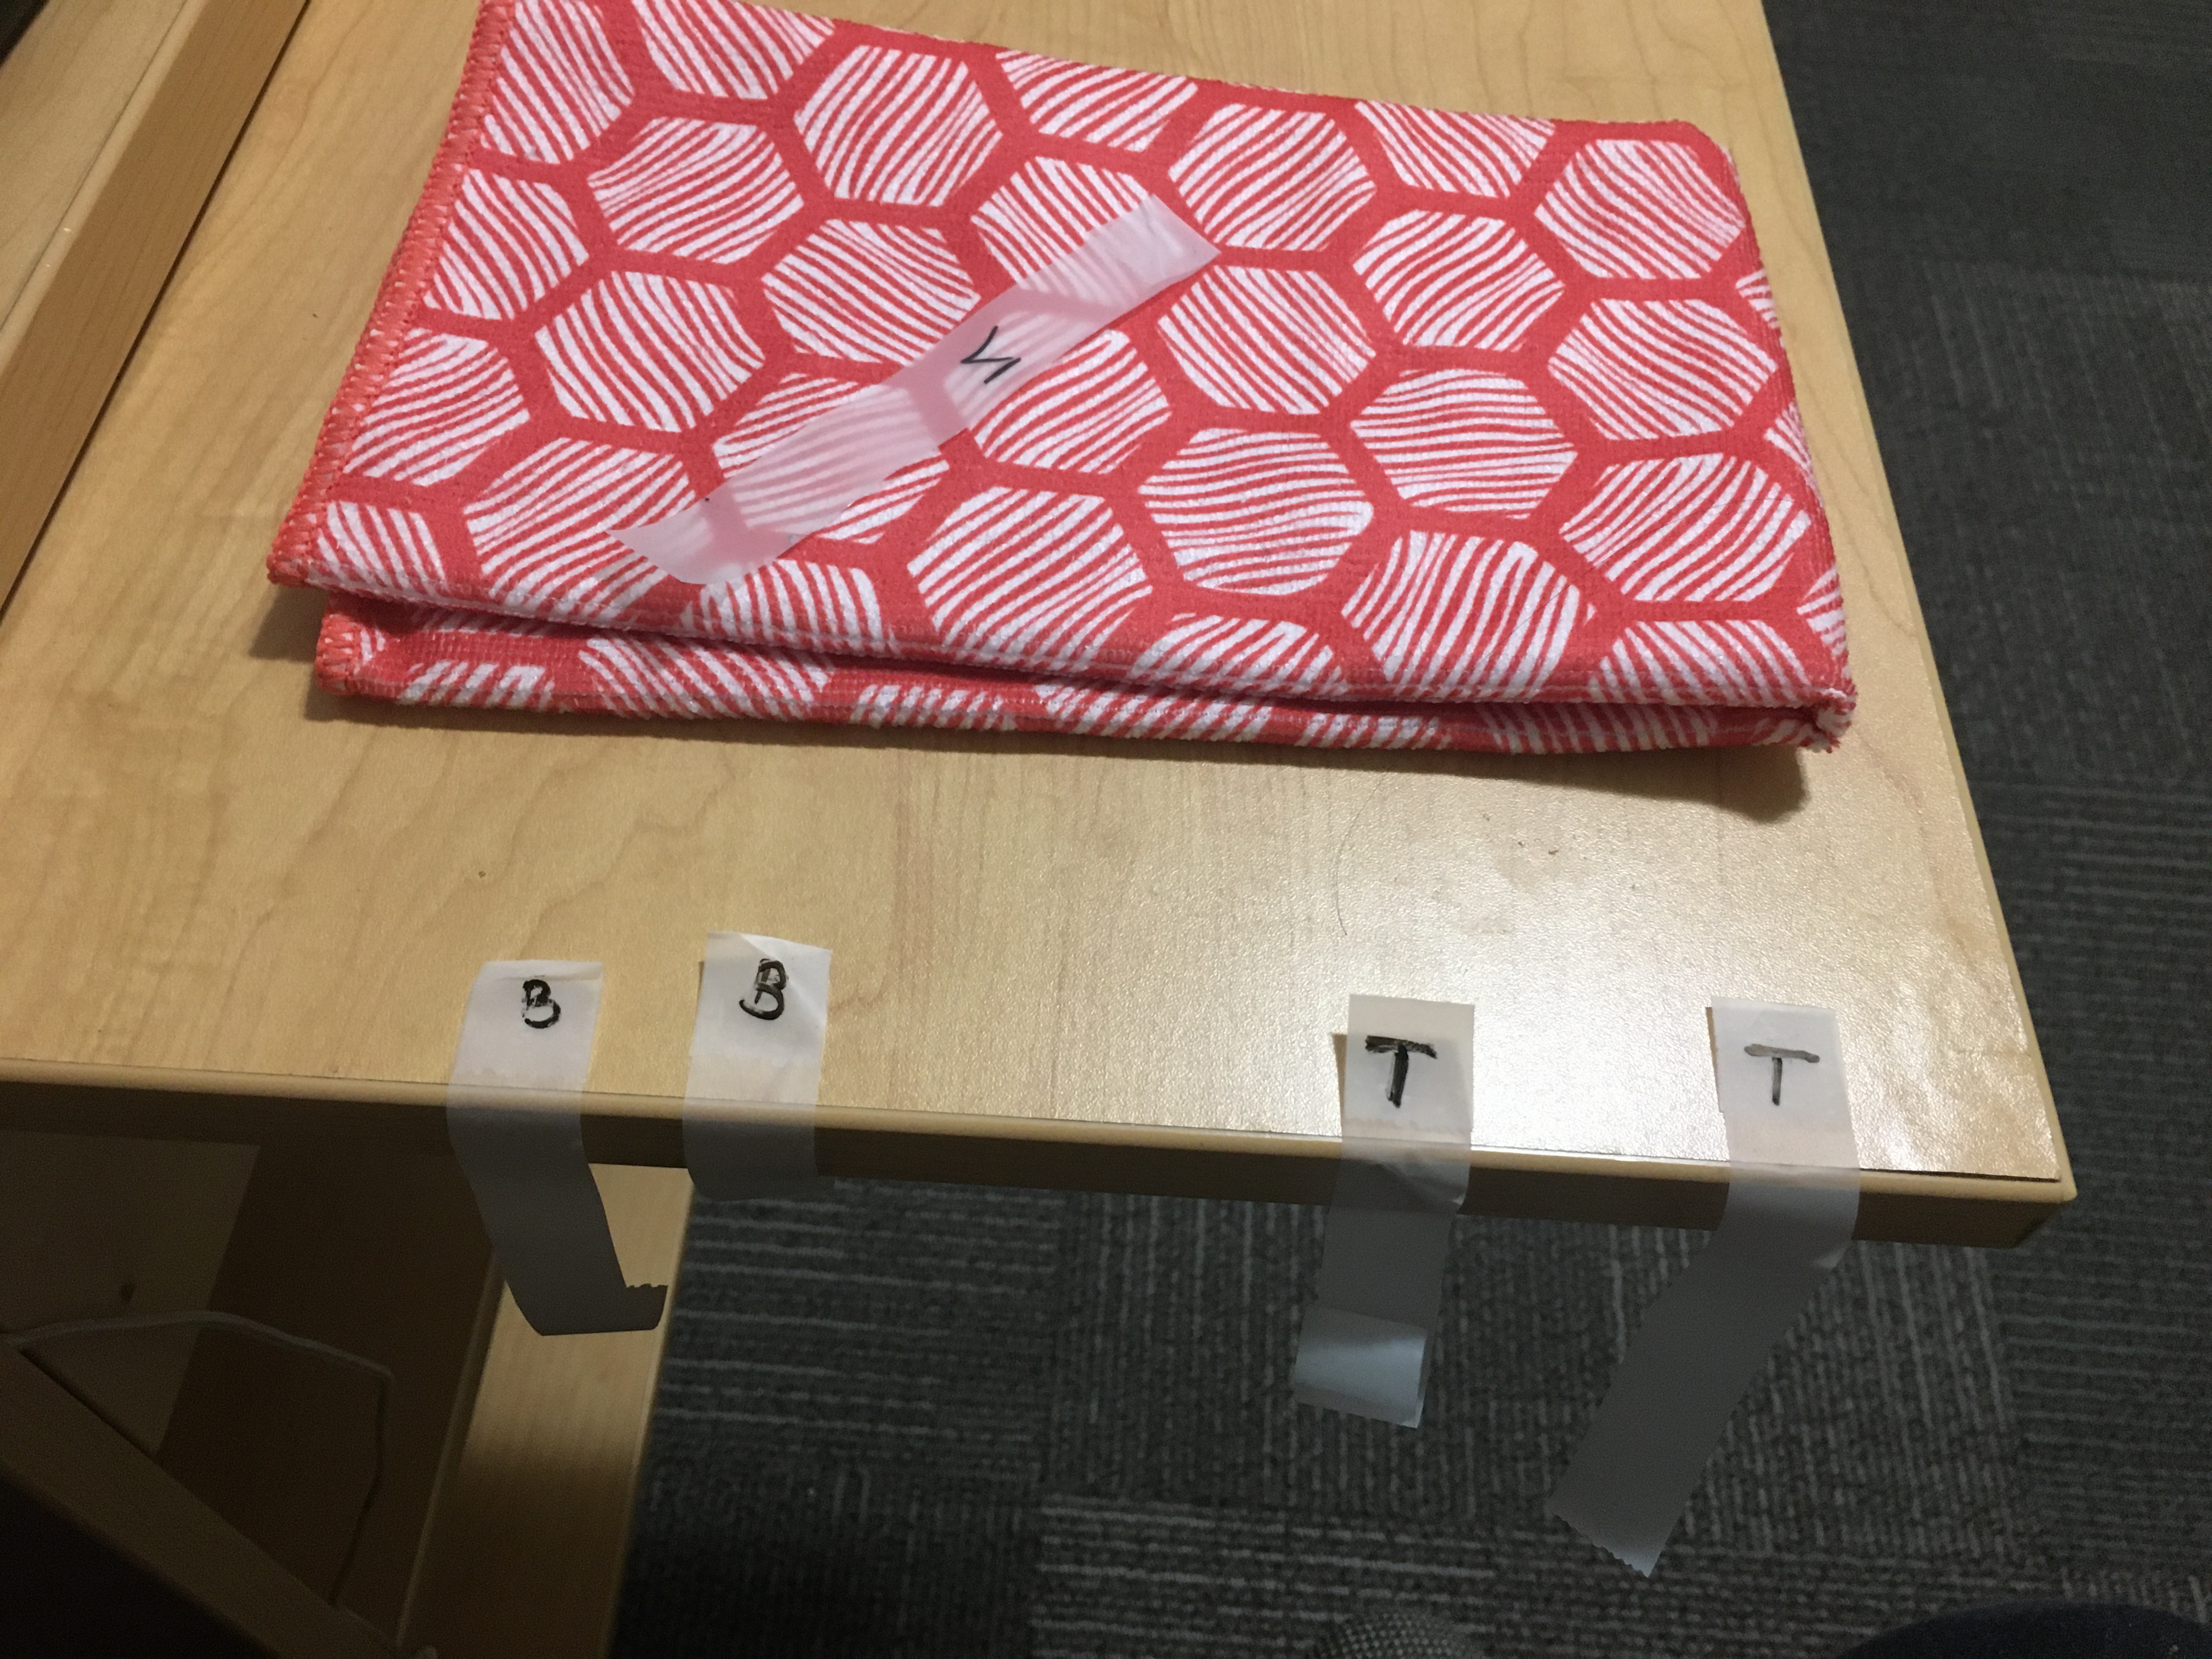
Setup Visualization
Before we go any further, it is helpful to have a picture of the experiment setup.
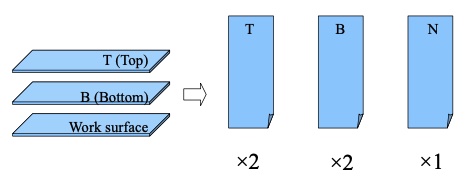
Fig. 13 Experimental setup (part 1)
Note that you will need to use 7 pieces of tape in total.
Setup instructions
Now, let’s have a brief version of the instruction.
Step 1: Take out 1 piece of tape, touch it gently to discharge, put it on anything insulated and mark it N.
Step 2: Stick 2 pieces on a surface (e.g. table). Those are called workingspaces.
Step 3: Take out 2 pieces, folder one end down a little and mark it B.
Step 4: Take 2 more pieces, do the same as step 3 and mark it T.
Step 5: Pick 1 workspace. Pull up B and T at the same time. Stick them (hanging) on a surface. Now, B is in position. So, slowly pull T out and stick it nearby.
Step 6: Do the same for the other workspace.
Now, you have set up your experiment. Follow the later instruction to observe the behavior and record it in your report sheet.
One question will ask you to watch one video to identify the charge of each label. Make sure you watch it to answer the question. It will be super clear.
Note
For drawing the tape, you will have to show me which tape is negatively charged and which tape is positively charged.
Part 2: Measuring the charge on a pith ball
For this part, there is just a picture for you to insert in Logger Pro and do analysis.
Make sure when you do it, choose Picture with analysis.
Setup visualization
Let’s have a look of what the setup look likes.
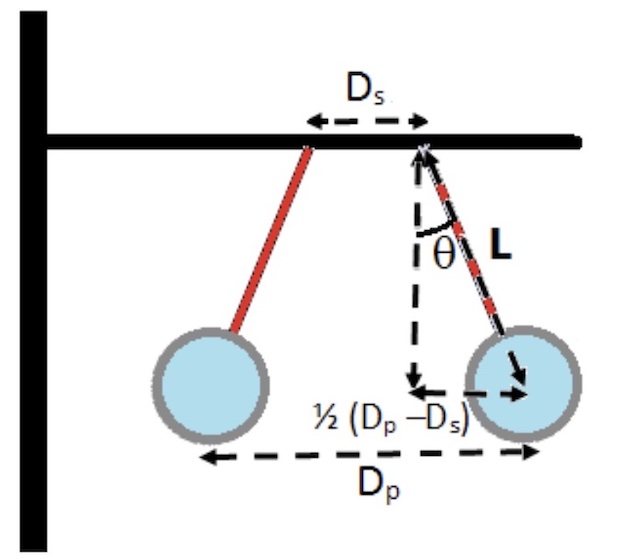
Fig. 14 Experimenal setup (Part 2)
Setup instructions
Follow the manual and repeat similar steps as previous labs.
After you follow the manual’s instructions, you will use the vertical ruler for measuring distance between 2 points. Here is the sample Logger Pro window.
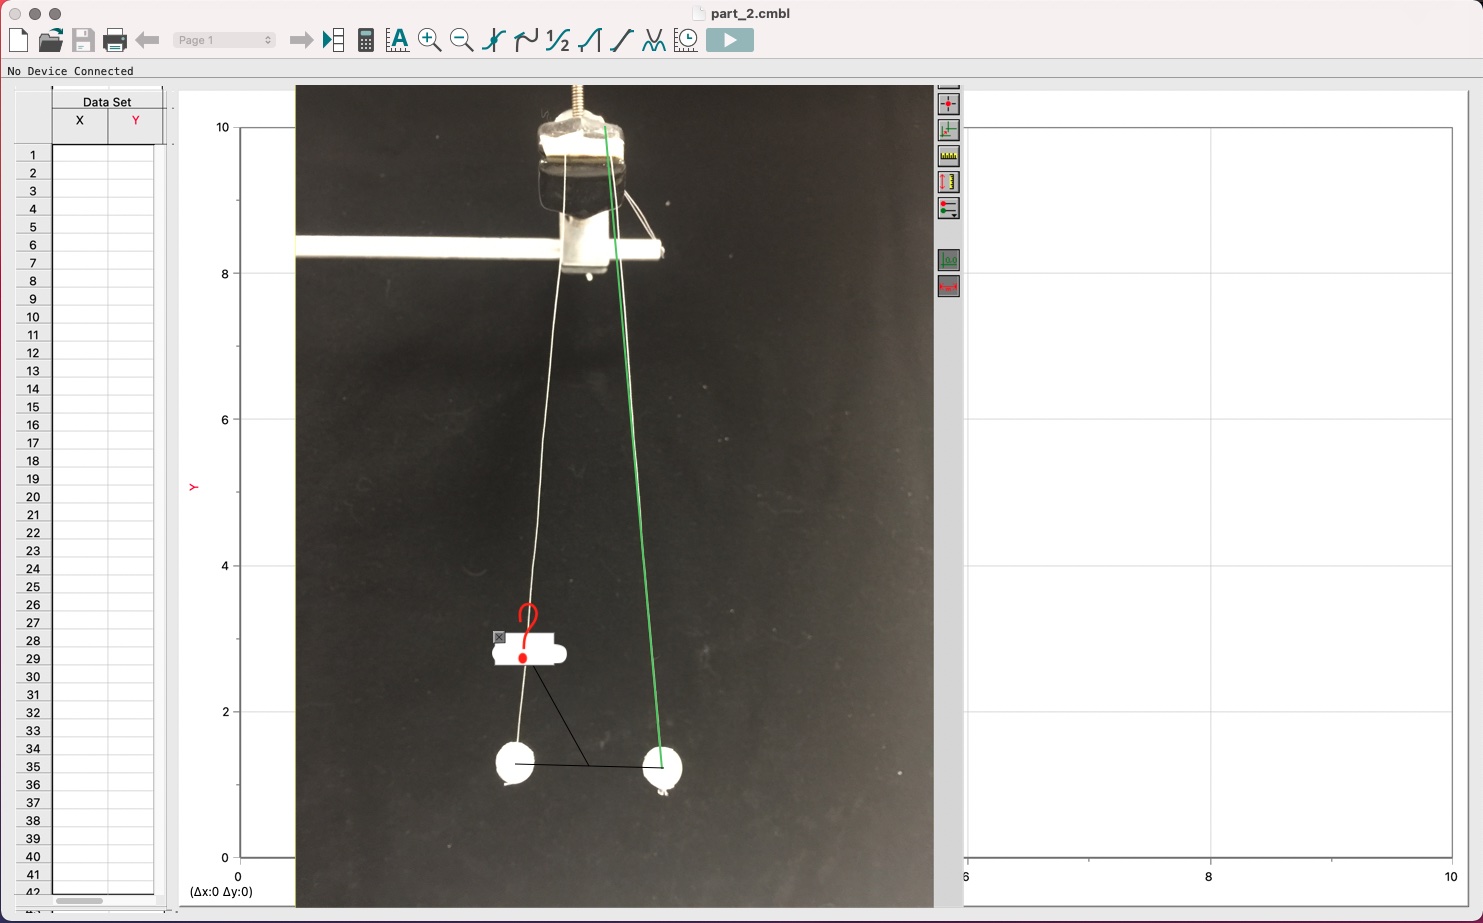
Fig. 15 Logger Pro demo
Caution
In this picture, I only show how to find Dp. You will have to also find Ds!
Free Body Diagram and Calculations
When you are done, record the values in the report sheet’ table.
Now, start calculating \(\theta\) by using only \(D_{p}\) and \(D_{s}\). This will be use later.
Next, draw your body diagram on 1 ball only.
From there, based on the observed system, we have \(F_{net} = 0\). Break the forces into components and calculate \(F_{e}\).
Having \(F_{e}\) and equally charged balls meaings we can find the charge on each ball via Coulomb Law.
Warning
Don’t forget to calculate uncertainties. Show your work!
Discussion
The last question asks you to know how the angle behaves in response to the change in charge of each ball.
Now, this is a common proportional relationship between 2 quantities. I would start by writing down relating formula and assume other quantities constant.
Caution
Proportional relationship is not limited to linearity!
Attachments
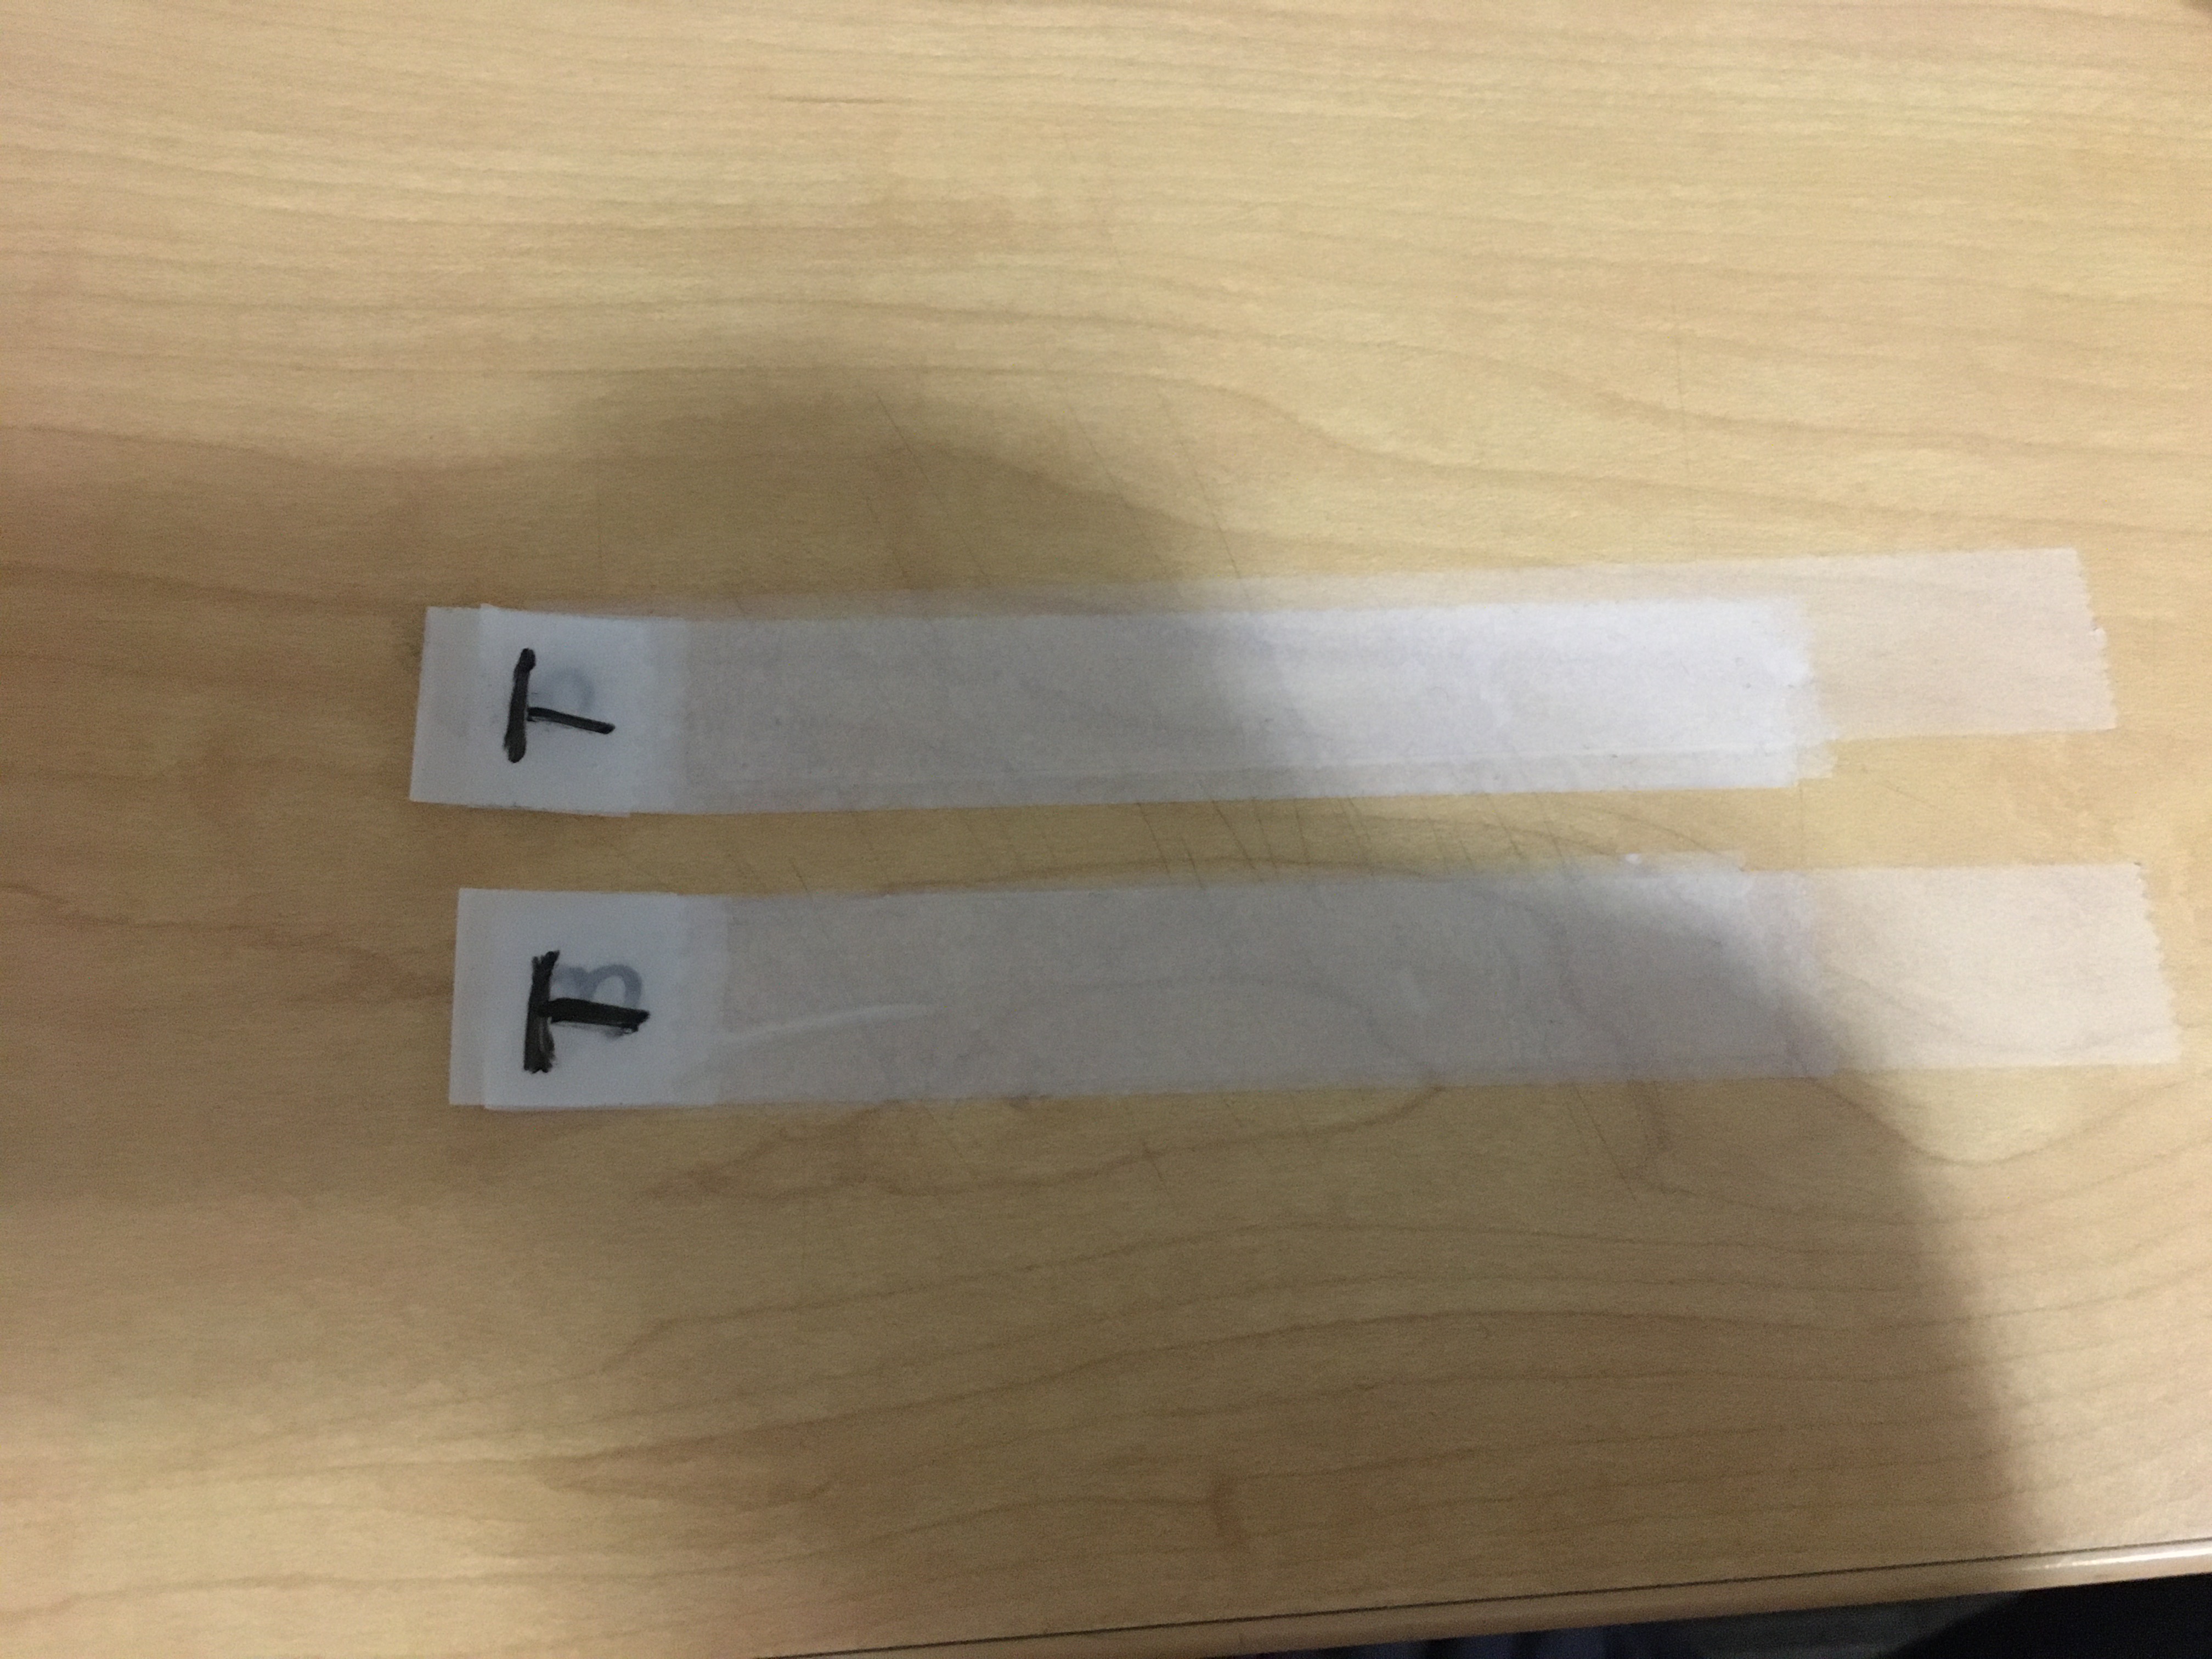
You are required to submit pictures of your experiment setup in part 1.
Here are the sample picture I want you to submit.
Warning
Please include these pictures in your reportsheet as one whole pdf.